
Basic Disclaimer
This page, and all software contained within, is distributed in the hope that it will be useful, but WITHOUT ANY WARRANTY; without even the implied warranty of MERCHANTABILITY or FITNESS FOR A PARTICULAR PURPOSE.
Entering an assignment in Webct
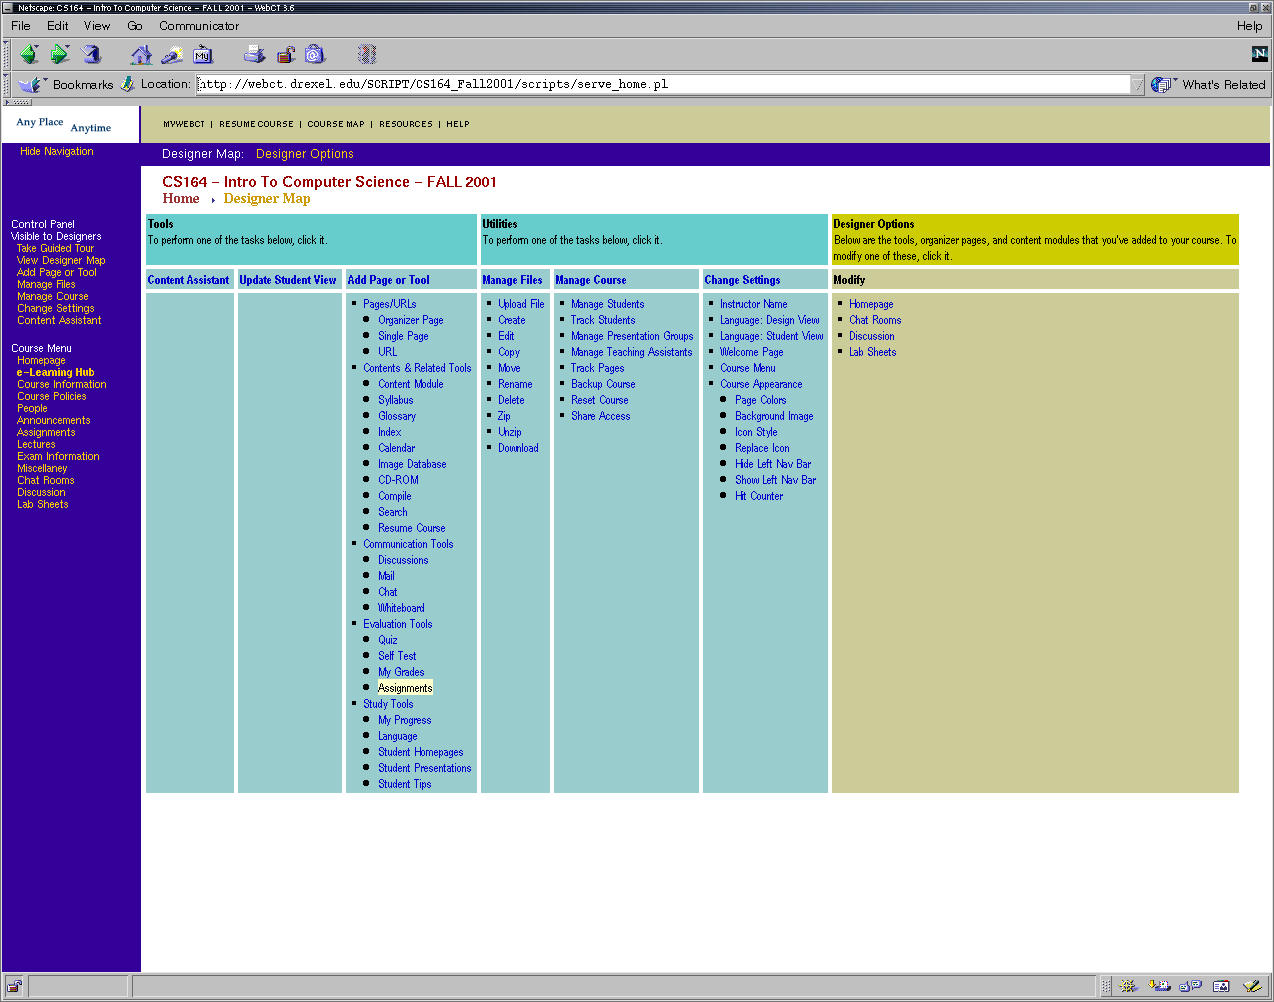
- First step should be to create an assignments page specifically for
the submission of assignments. Click on the "View Designer Map"
option in the "Control Panel available to designers. When in this
section click the "Assignments" link which is highlighted below.
- Now enter the necessary information that you want to appear for the
link. Remember, this is only for a page will hold the assignments,
this is NOT to enter just an assignment.
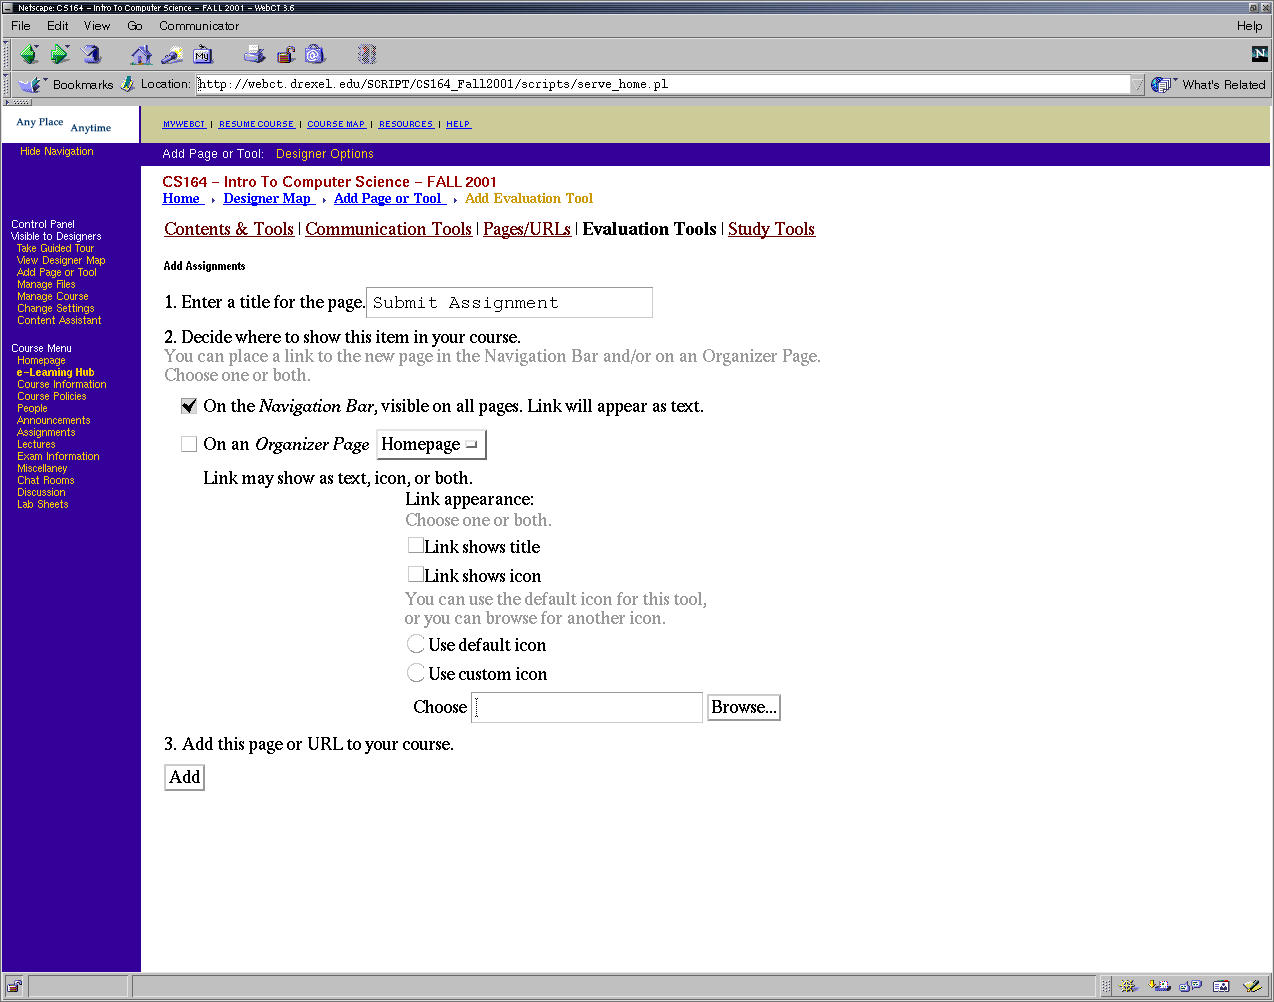
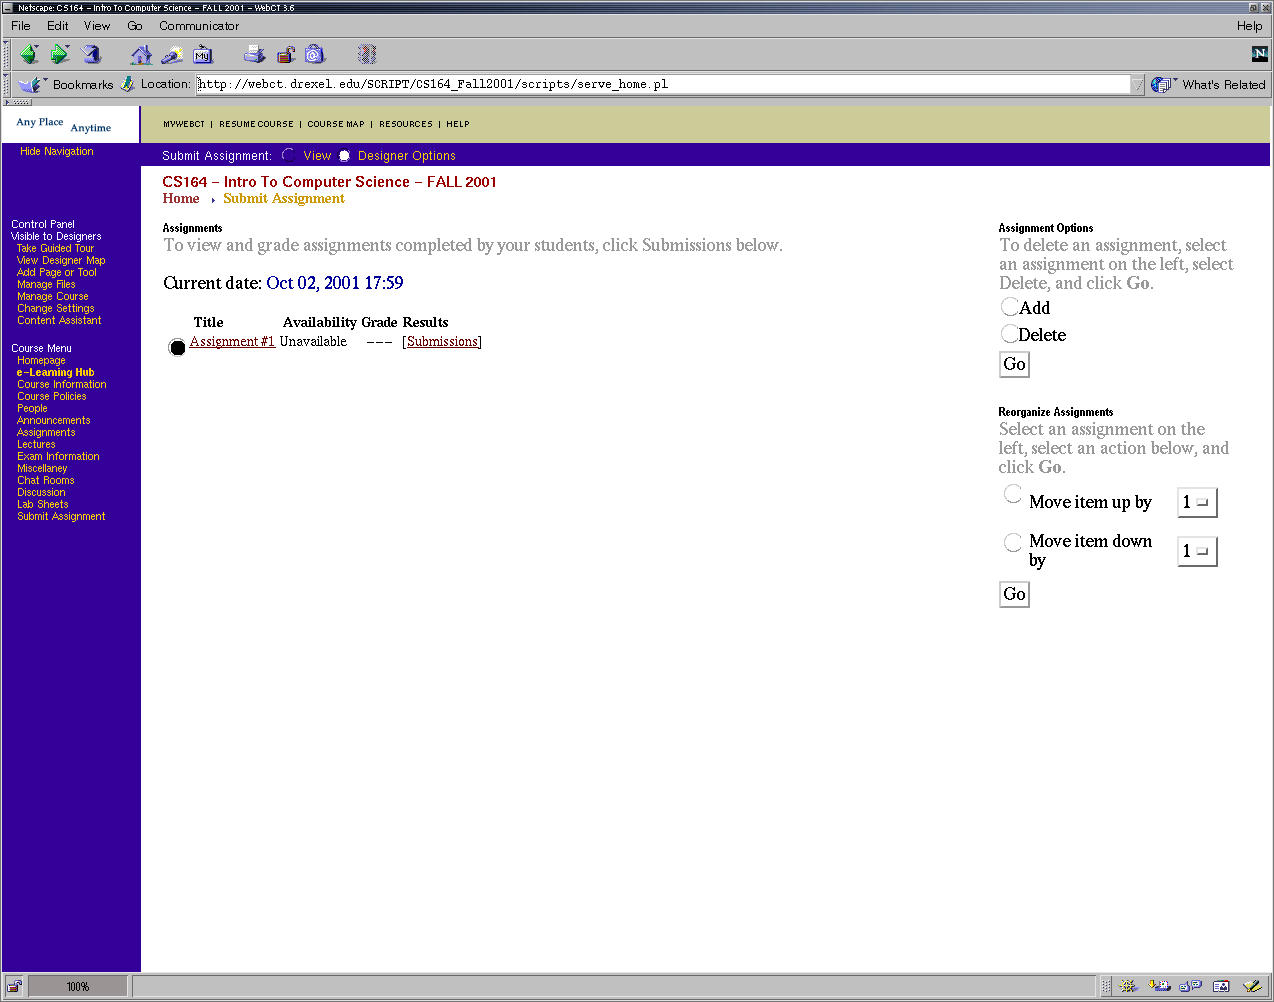
- Click the "Add" button and you will receive this acknowledgement.
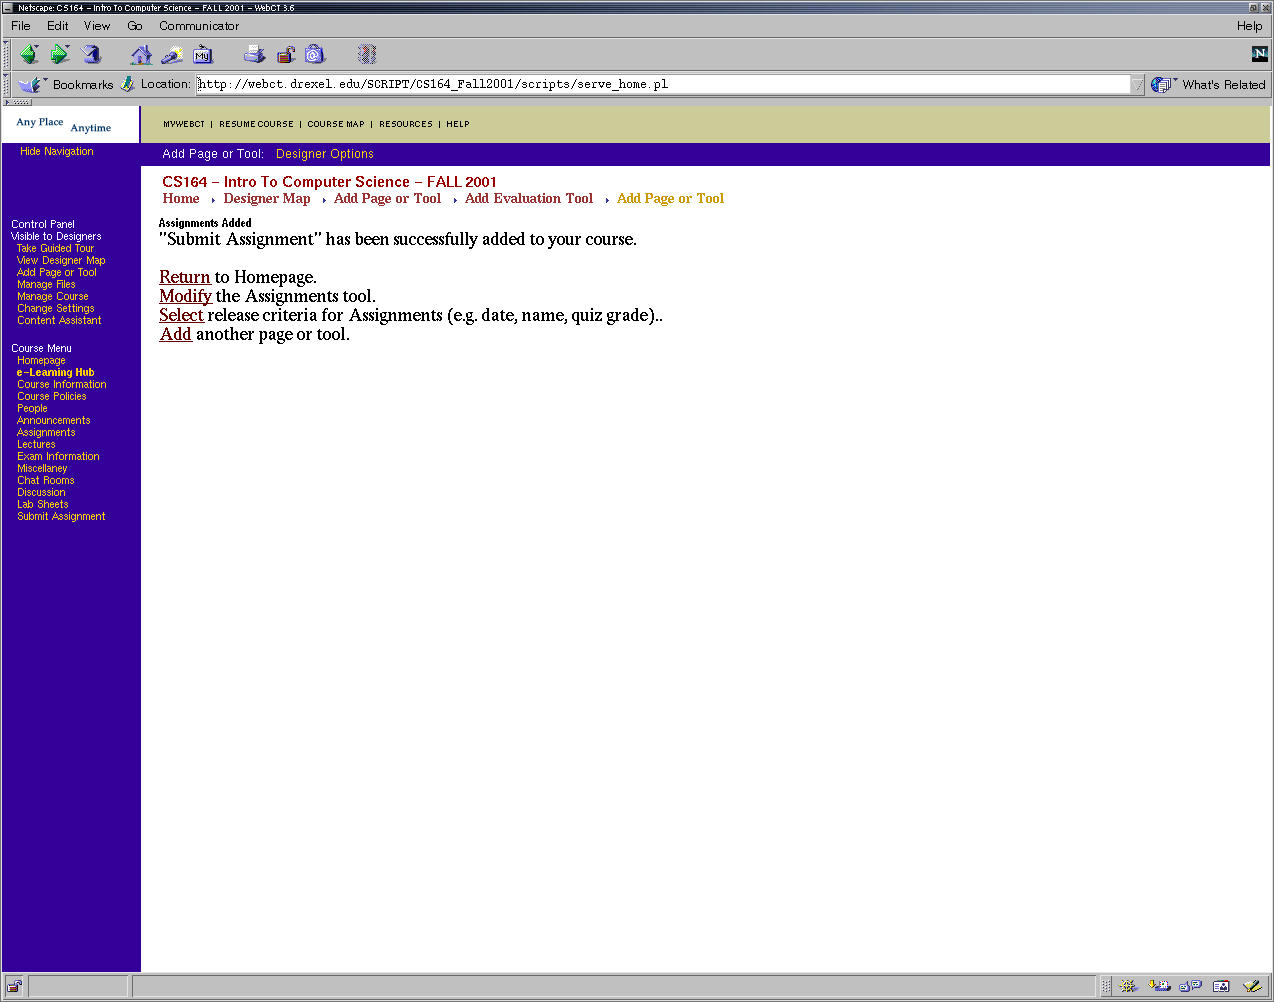
- Now click on the link that you just added, and you will see an empty
page without any assignments.

- Click Designer Options (radio button on black toolbar at top).
- Click Add (on RHS frame)
- Click Go (underneath "Delete" on RHS frame)
- Enter the name of the assignment.
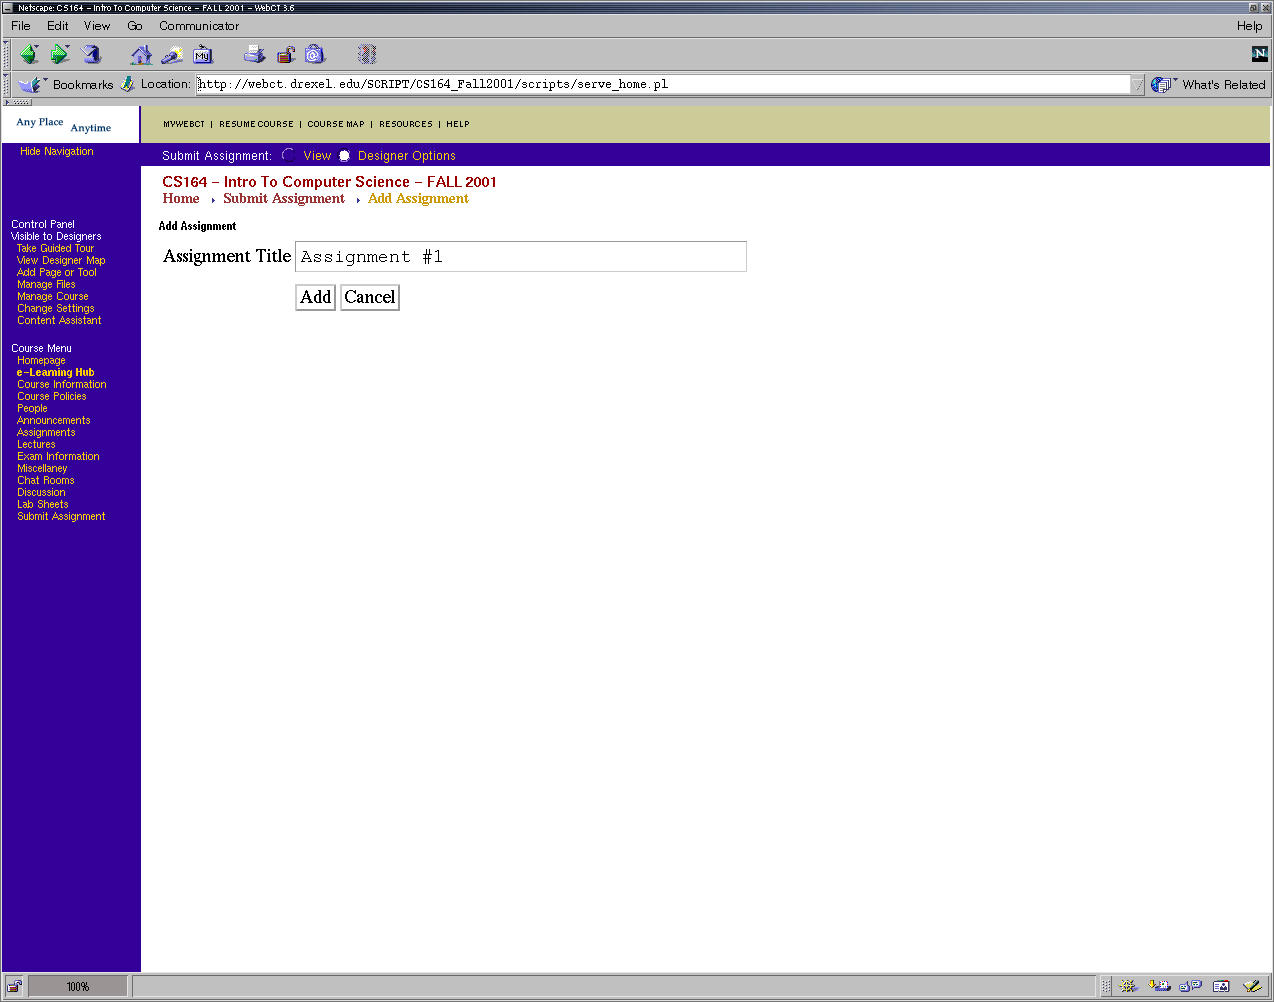
- Now you will see that your new assignment box has been added.
- Click on the link for the assignment you just created
- Choose settings on the right hand side
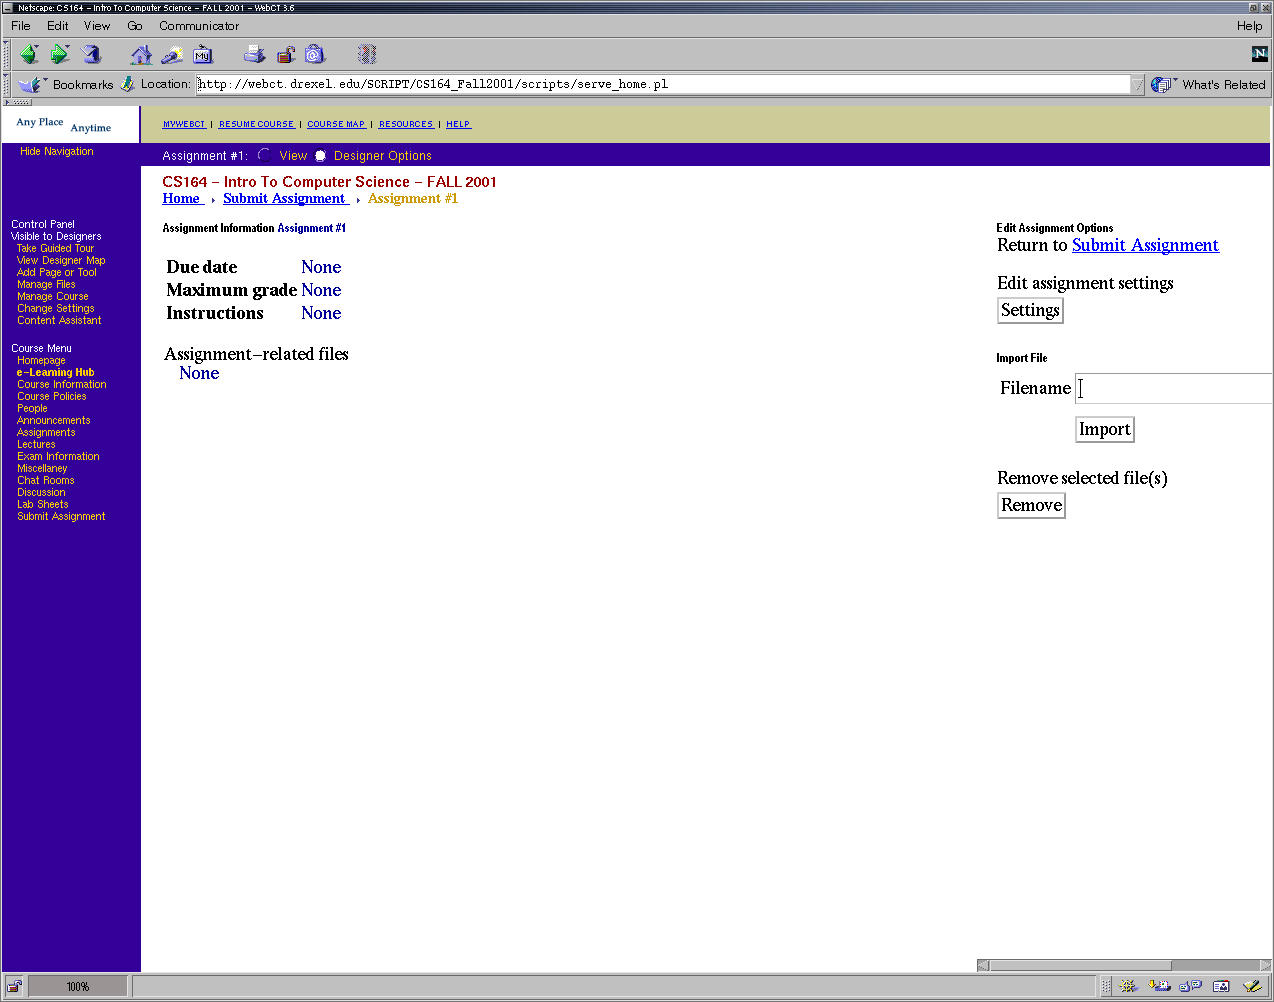
- set all criteria that you want:
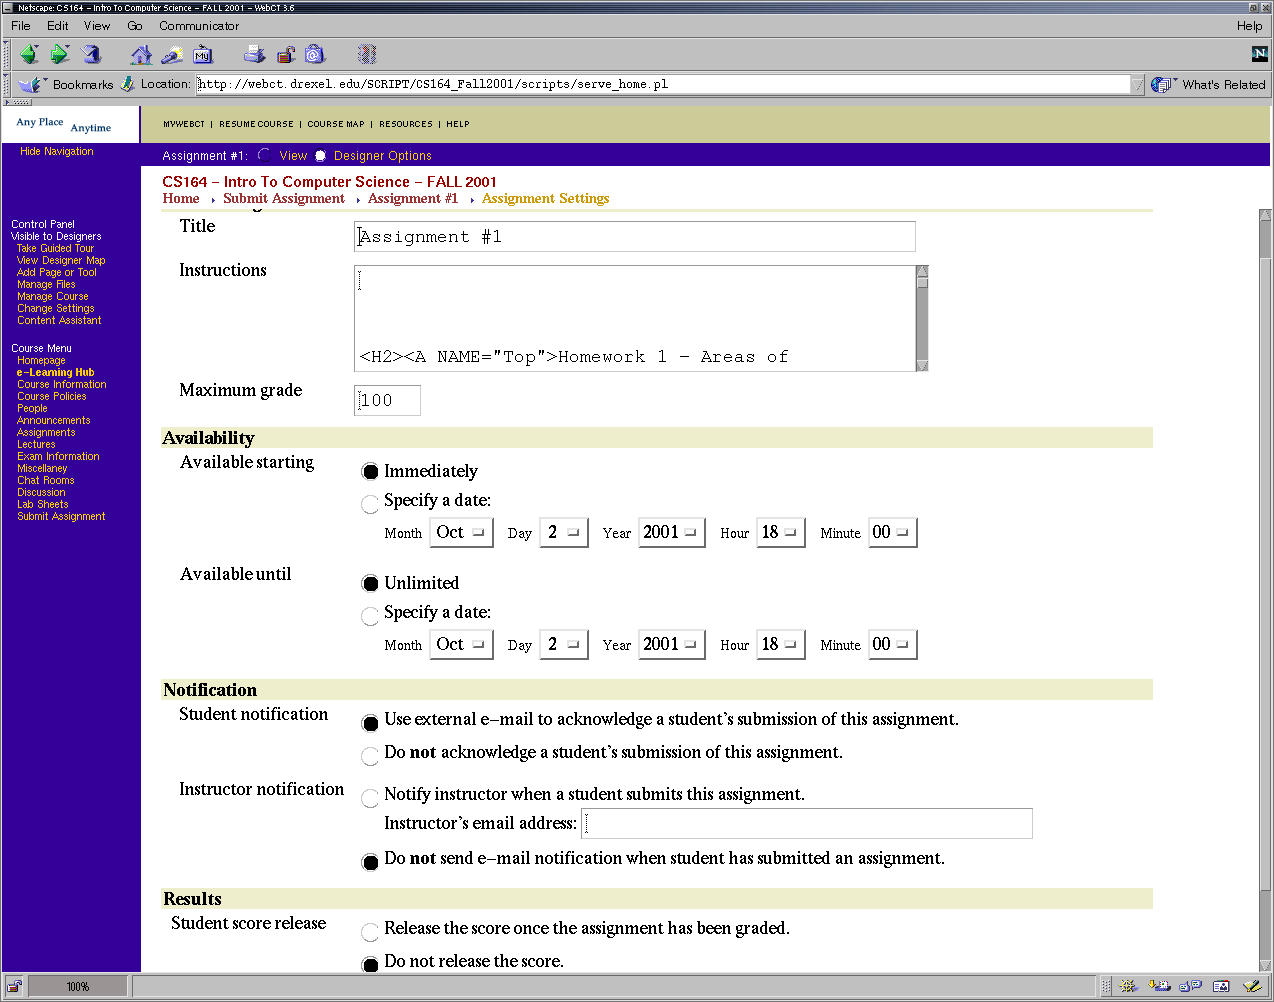
- the instructions section is a good place to copy the html
code for "What to hand in" b/c this will be displayed at
the top of the page when a student first clicks on this
assignment. It will make it very clear to them what files
to submit to webct upon reading this. I typically use this
place to set the due dates and late dates at the top too,
b/c this is ambiguous when done the way which webct wants
you to do it.
- set the availability time to "unlimited" b/c if you place
the late date into this section (to cut off submissions
after the late date), webct places this in the Due Date:
section of the homework which isn't right, unless you have
no late dates.
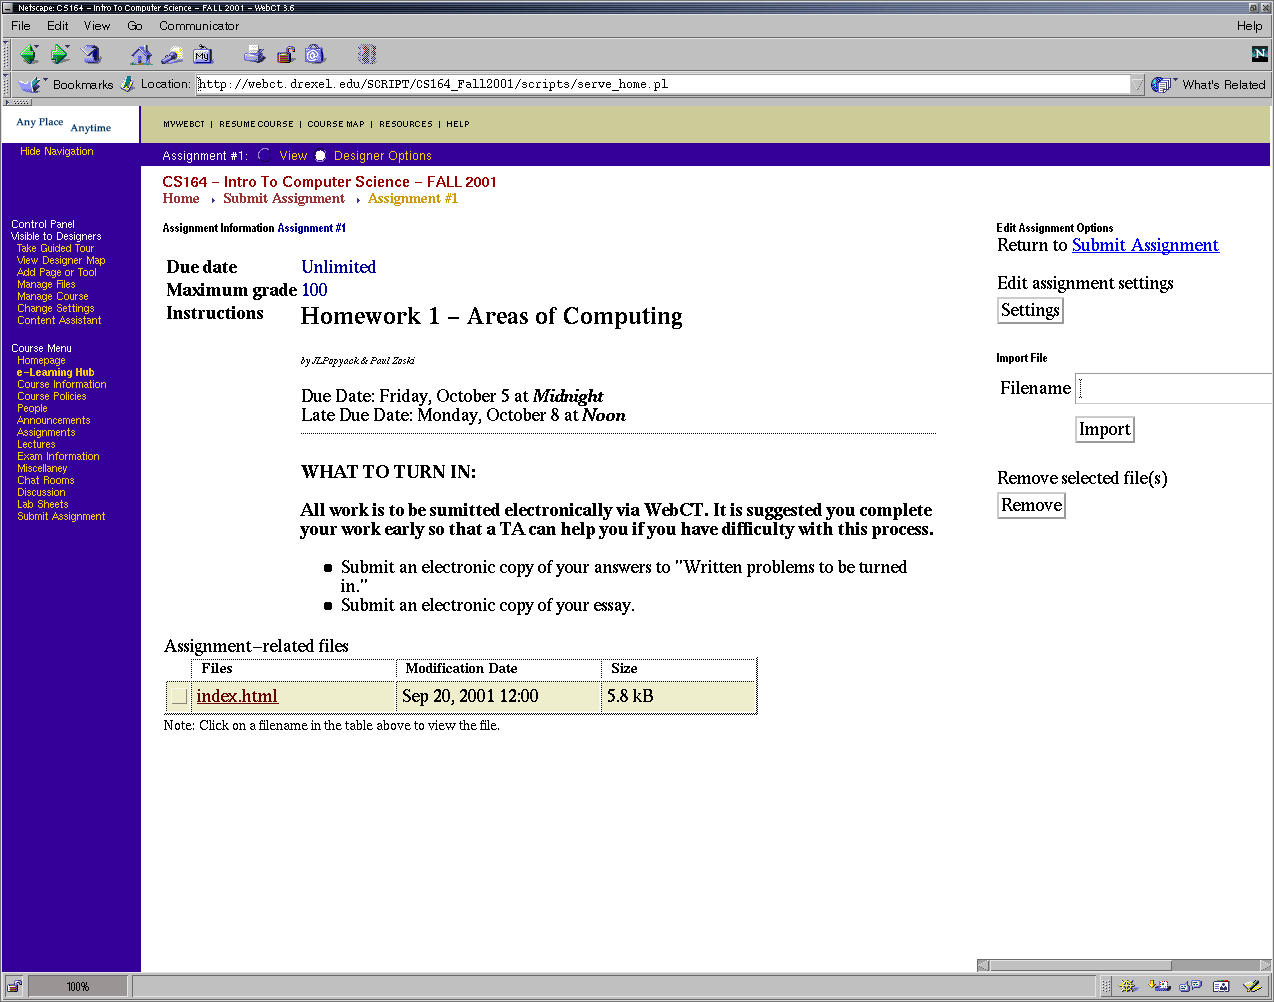
- Now your page should look something like this.
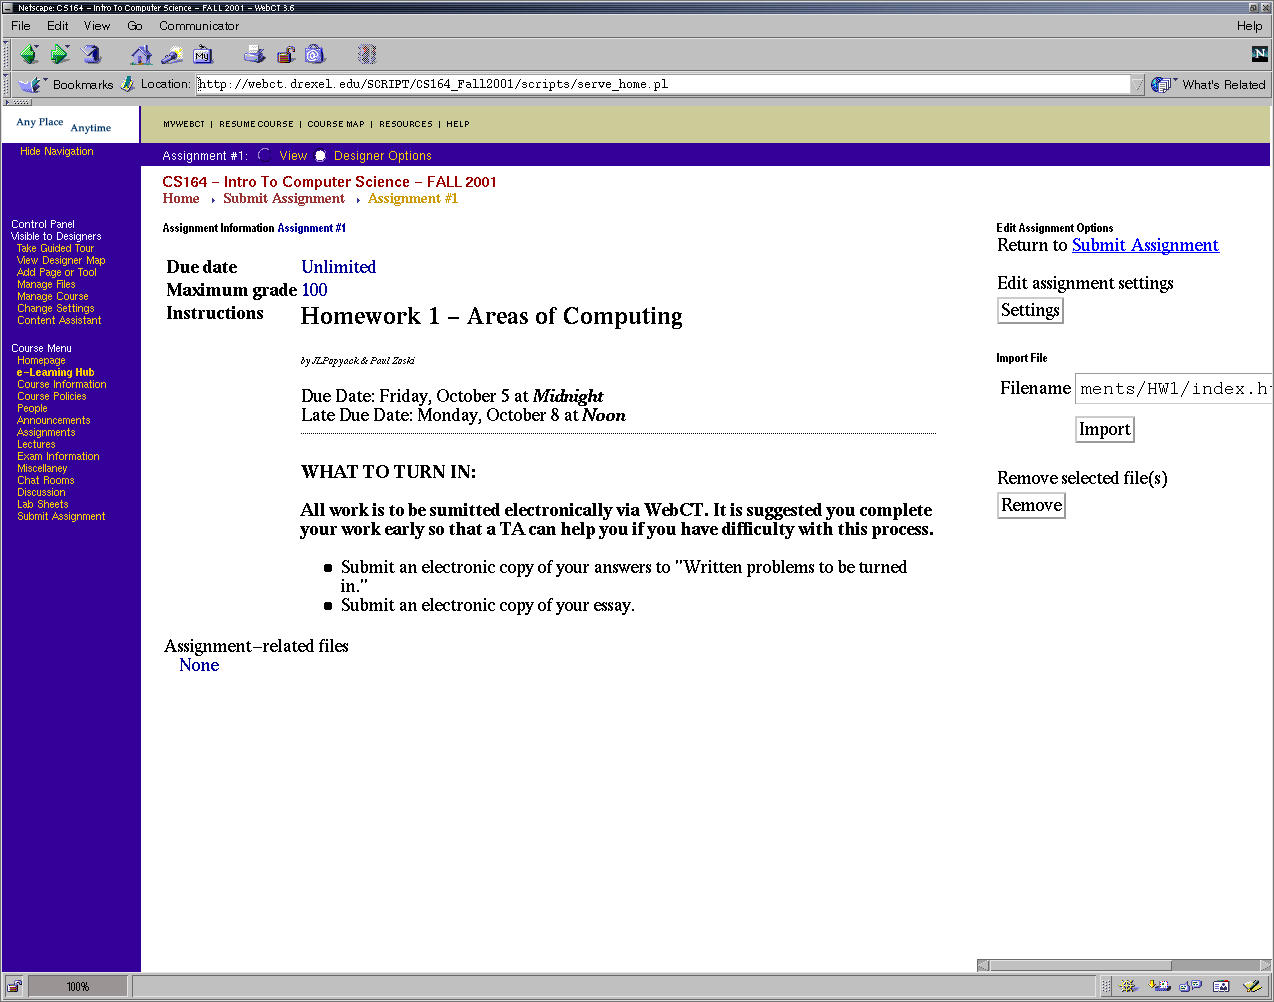
- To import the html source of the actual lab itself, enter
the relative path to the source file from the My-Files
directory on the local filesystem. So for the file in
/My-Files/cs171/labs/lab1/Lab.html, enter in exactly
"cs171/labs/lab1/Lab.html", this is how paths are input
into webct.
- Test the availability of the lab with a test student
account. You will not be able to test with a student
account if the availability if at a later date, so you may
wish to make it available until the settings are done.
CHANGELOG
| 6/x/2001 | Page created |
| 10/1/2001 | Modifications and screenshots |
Back to the WebCT page @MCS
Everything on this page was written by Chris Cera in the Mathematics and Computer Science department at Drexel University